Proxmox VE 9.x安装集群 + Ceph详细保姆级教程
host节点设置
# 这里的host必须写在 ipv6解析的上面,放在最上面,否则加入集群会失败
cat >> /etc/hosts <<EOF
192.167.8.3 pve01
192.167.8.4 pve02
192.167.8.5 pve03
EOF
设置主机名称
#192.167.8.3 执行
hostnamectl set-hostname pve01
#192.167.8.4 执行
hostnamectl set-hostname pve02
#192.167.8.5 执行
hostnamectl set-hostname pve03
时间同步(必须做,不然 Ceph 会炸)
apt install chrony -y

sed -i 's|pool.ntp.org|ntp.aliyun.com|g' /etc/chrony/chrony.conf

systemctl restart chrony
chronyc sources

nano /etc/chrony/chrony.conf

#注释默认 pool,添加
server ntp.aliyun.com iburst
server time1.aliyun.com iburst
server cn.ntp.org.cn iburst

systemctl restart chrony
timedatectl set-timezone Asia/Shanghai
# 验证时间
chronyc tracking
date
如果输出里能看到 Leap status: Normal,并且 date 显示的是北京时间,就说明配置成功了✅
换源必做:Debian 12 / Ceph Reef
1、备份旧源
1 | mkdir -p /root/apt-source-backup |
2、清理旧的重复源
rm -f /etc/apt/sources.list
rm -f /etc/apt/sources.list.d/*.list
rm -f /etc/apt/sources.list.d/*.sources
3、确认 Proxmox key
ls -lh /usr/share/keyrings/proxmox-archive-keyring.gpg

#如果不存在
wget -O /usr/share/keyrings/proxmox-archive-keyring.gpg \
https://enterprise.proxmox.com/debian/proxmox-release-bookworm.gpg
4、写入 Debian 国内源
cat > /etc/apt/sources.list.d/debian.sources <<EOF
Types: deb
URIs: https://mirrors.tuna.tsinghua.edu.cn/debian
Suites: trixie trixie-updates
Components: main contrib
Signed-By: /usr/share/keyrings/debian-archive-keyring.gpg

Types: deb
URIs: https://mirrors.tuna.tsinghua.edu.cn/debian-security
Suites: trixie-security
Components: main contrib
Signed-By: /usr/share/keyrings/debian-archive-keyring.gpg
EOF
5、写入 PVE 9 源
cat > /etc/apt/sources.list.d/pve.sources <<EOF
Types: deb
URIs: https://mirrors.tuna.tsinghua.edu.cn/proxmox/debian/pve
Suites: trixie
Components: pve-no-subscription
Signed-By: /usr/share/keyrings/proxmox-archive-keyring.gpg
EOF
6、写入Ceph Squid 源
cat > /etc/apt/sources.list.d/ceph.sources <<EOF
Types: deb
URIs: https://mirrors.ustc.edu.cn/proxmox/debian/ceph-squid
Suites: trixie
Components: no-subscription
Signed-By: /usr/share/keyrings/proxmox-archive-keyring.gpg
EOF
更新验证
apt clean
apt update && apt -y full-upgrade
创建 PVE 集群(只在第一台执行)
在 pve01 执行:
pvecm create pve-cluster
查看状态:
pvecm status
其他节点加入集群
pvecm add 192.167.8.3
输入root账户密码即可加入集群
查看是否都加入集群
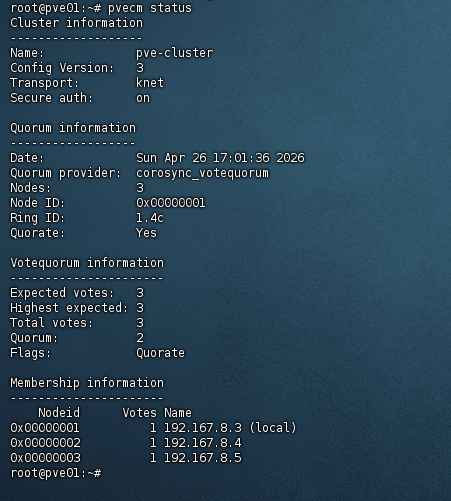
pvecm status
成功加入集群如下图所示:
注意:如果失败,重新加入集群
pve node节点操作
# 停止服务
systemctl stop corosync
systemctl stop pve-cluster

# 删除所有集群相关配置
rm -rf /etc/pve/cluster.conf /etc/pve/nodes/* /etc/corosync/* /var/lib/pve-cluster/* /etc/pve/.members

# 重启服务
systemctl restart corosync
systemctl restart pve-cluster
设置pve的 pve-data 虚拟机池给 pve-root 系统盘扩容满 (可选)
lvremove /dev/pve/data
#如果报错
lvchange -an pve/data
lvremove /dev/pve/data
扩 root
lvextend -l +100%FREE /dev/pve/root
resize2fs /dev/pve/root
安装Ceph
1、设置专门网络光口
3台都设置
ens10f0 假设这是我的光口网卡名称
nano /etc/network/interfaces
#写入以下内容,ens10f0根据你自己主机的网卡名称修改
#pve01
auto ens10f0
iface ens10f0 inet static
    address 10.10.10.3/24
    mtu 9000

#pve02
auto ens10f0
iface ens10f0 inet static
    address 10.10.10.4/24
    mtu 9000

#pve03
auto ens10f0
iface ens10f0 inet static
    address 10.10.10.6/24
    mtu 9000

#每台都ifreload一下
ifreload -a

ip addr

#互相测试
ping 10.10.10.4
ping 10.10.10.5
安装Ceph 在web界面直接安装
选择 squid , 无订阅
| 字段 | 填写值 | 原因 |
|---|---|---|
| Public Network | 192.167.8.0/16(vmbr0) | Ceph监视器(Monitor)通信、客户端I/O走管理网,与PVE节点间管理流量同网段,确保3节点互通 |
| Cluster Network | 10.10.10.0/24(ens10f0光口) | OSD之间的数据复制流量(最消耗带宽)走光口专线,与管理流量物理隔离 |
1 | ┌─────────────────────────────────────────────────────┐ |
Ceph 的 OSD 复制流量在写入时会产生 N倍放大(3副本 = 写入流量×3),必须用带宽最高的光口承载,否则会严重影响虚拟机网络。
注意事项:
3个节点的 ens10f0 必须都在 10.10.10.0/24 段且互通,否则 OSD 之间无法复制
Monitor 节点填 pve01 是正确的,它是第一个 Monitor,后续可以在 Ceph 面板添加其他节点的 Monitor
如果将来光口带宽仍然不够(比如做大量虚拟机迁移),可以考虑给光口做 Bond 绑定
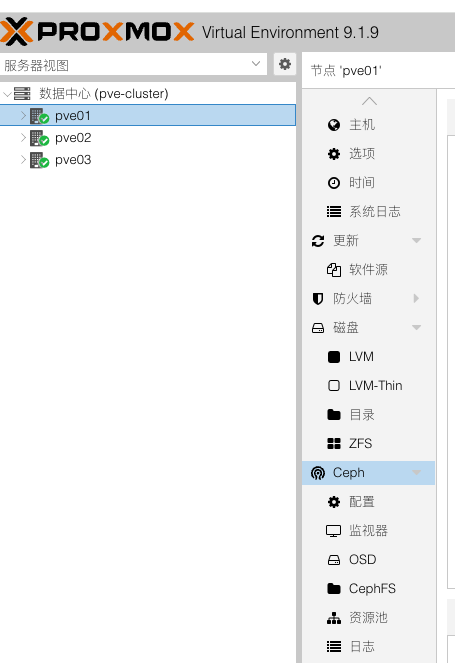
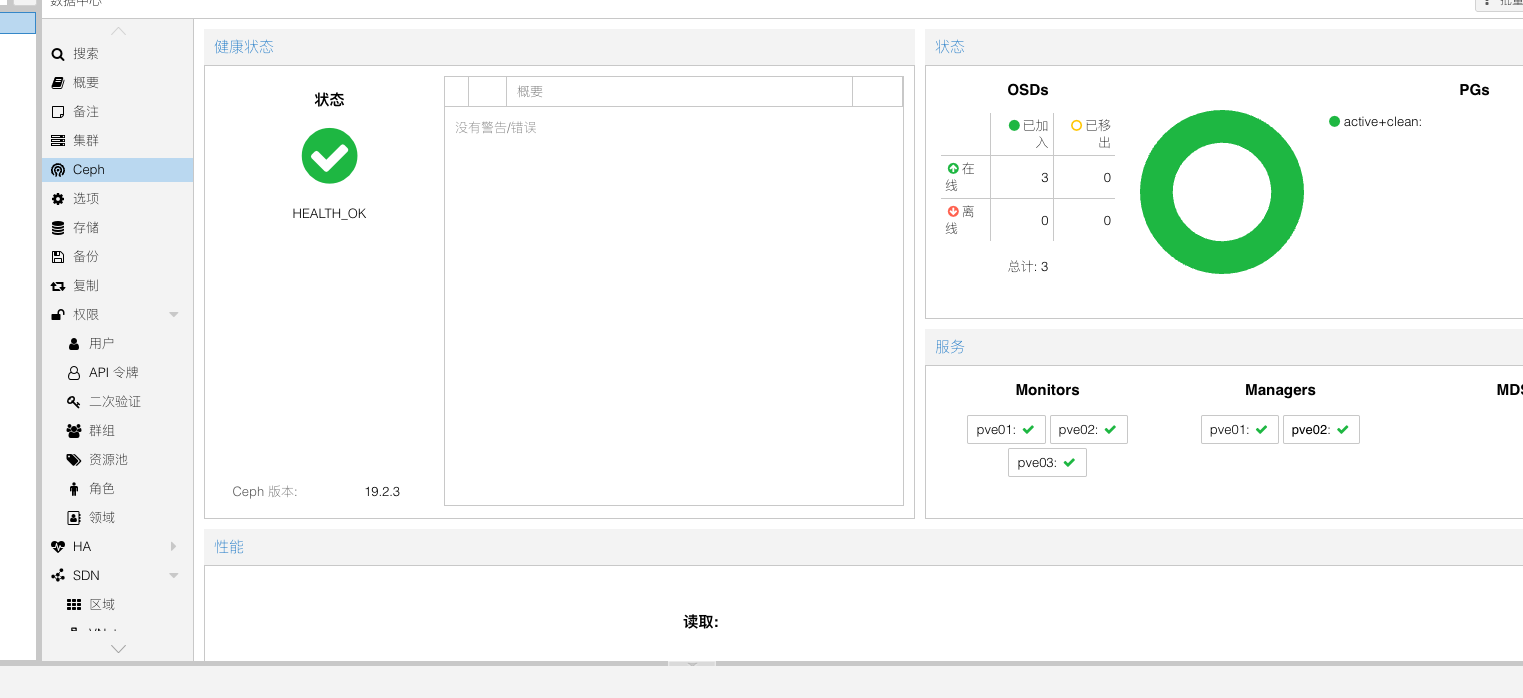
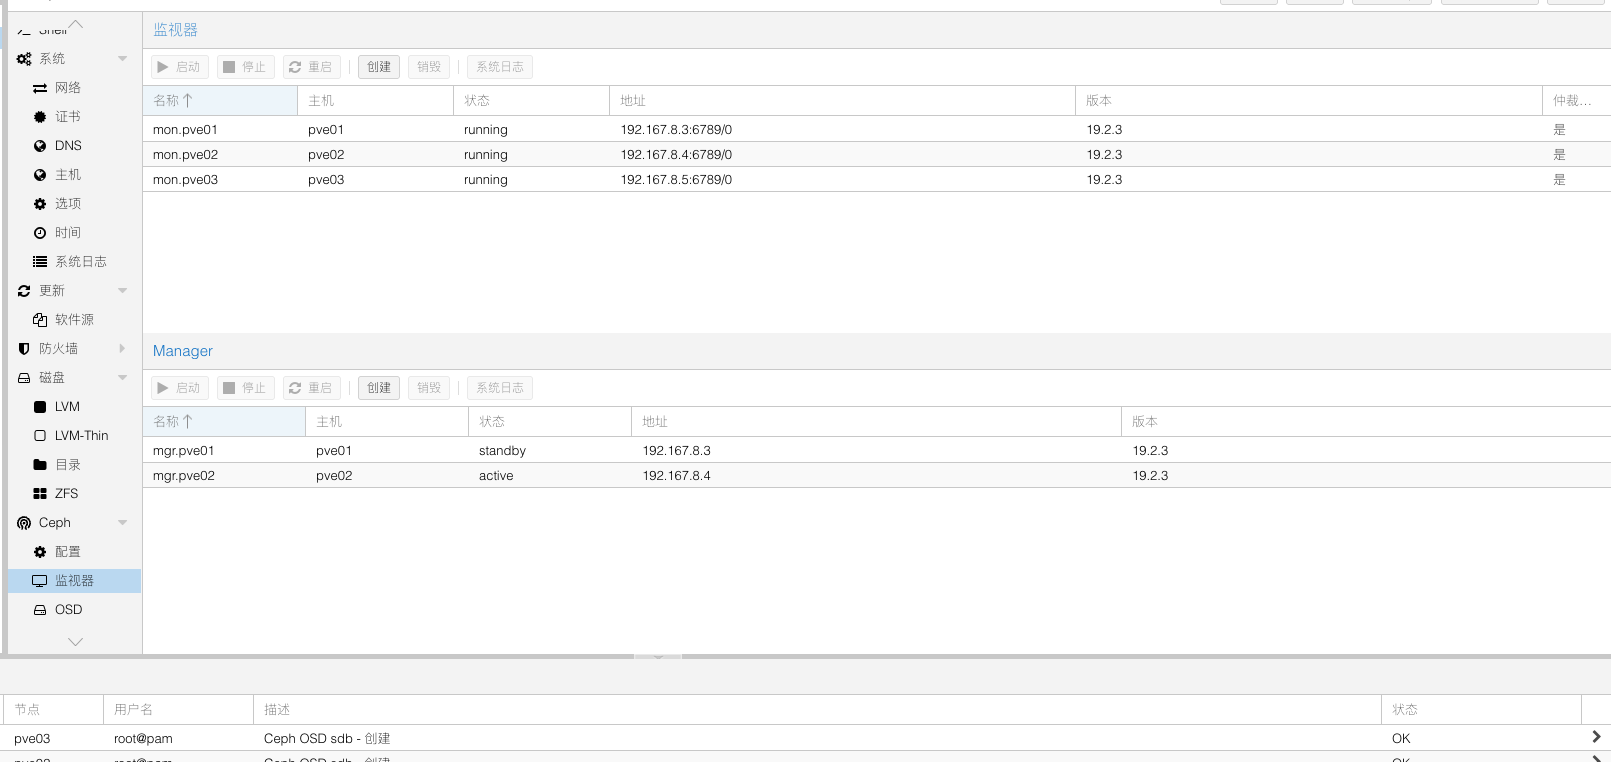
在数据中心-> pve节点 -> Ceph -> 监视器(3个节点) -> 创建mon 跟 Manager(2个)
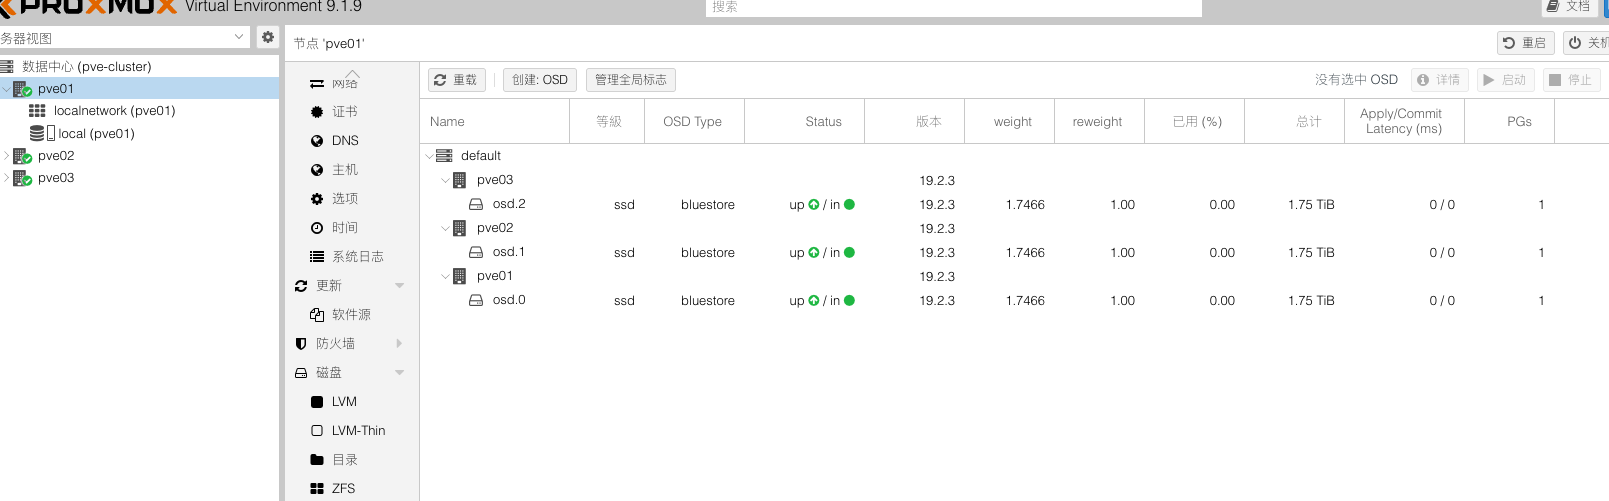
创建OSD池
配置 cat /etc/ceph/ceph.conf 如下
1 | [global] |
虚拟机扩容系统磁盘 (可选)
1 | apt update && apt install -y cloud-guest-utils |